
Philadelphia, Pennsylvania
I am majoring in Computer Graphics and Game Technology. Hoping to learn a lot and write some awesome code! ^^
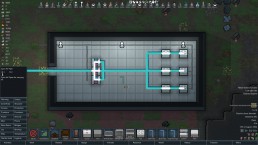
Centralized Climate Control Mod - RimWorld
Read more
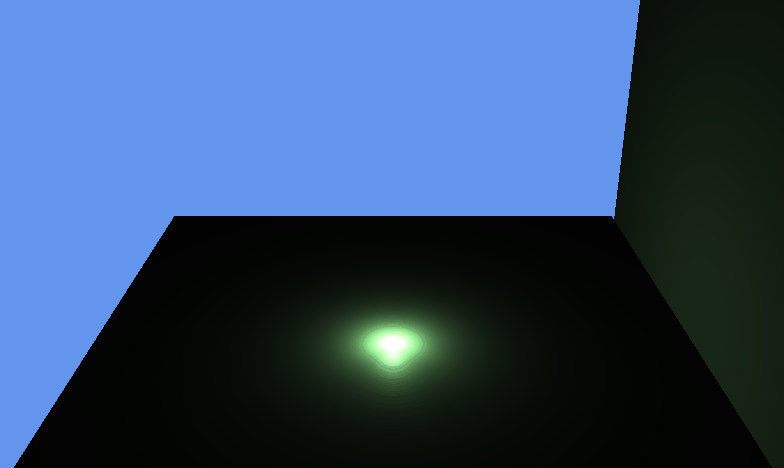
Lights in Azura
Added Lighting recently to my game engine. Also, will need to port CStyle pointers to C++ 11 style pointers.
Here are some of the examples:
Directional Light
[md]
```cpp
reference = new DirectionalLight(L"MyLight1", GetGameRenderState());
shared_ptr light = reference->GetProperty();
light->SetAmbient(XMFLOAT3(0.2f, 0.2f, 0.2f));
light->SetDiffuse(XMFLOAT3(0.5f, 0.5f, 0.5f));
light->SetSpecular(XMFLOAT3(0.5f, 0.5f, 0.5f));
light->SetDirection(XMFLOAT3(0.0f, -1.0f, 0.0f));
AddObject(reference);
```
[/md]

Point Light
[md]
```cpp
reference = new PointLight(L"MyLight1", GetGameRenderState());
shared_ptr light = reference->GetProperty();
light->SetAmbient(XMFLOAT3(0.2f, 0.2f, 0.2f));
light->SetDiffuse(XMFLOAT3(0.5f, 0.5f, 0.5f));
light->SetSpecular(XMFLOAT3(0.5f, 0.5f, 0.5f));
light->SetAttenuation(XMFLOAT3(0.0f, 0.5f, 0.0f));
light->SetRange(25.0f);
reference->SetPosition(0.0f, 5.0f, 0.0f);
AddObject(reference);
```
[/md]

Spot Light
[md]
```cpp
reference = new SpotLight(L"MyLight1", GetGameRenderState());
shared_ptr light = reference->GetProperty();
light->SetAmbient(XMFLOAT3(0.2f, 0.2f, 0.2f));
light->SetDiffuse(XMFLOAT3(0.5f, 0.5f, 0.5f));
light->SetSpecular(XMFLOAT3(0.5f, 0.5f, 0.5f));
light->SetDirection(XMFLOAT3(0.0f, -1.0f, 0.0f));
light->SetSpot(2.0f);
light->SetRange(25.0f);
light->SetAttenuation(XMFLOAT3(0.0f, 0.5f, 0.0f));
reference->SetPosition(0.0f, 5.0f, 0.0f);
AddObject(reference);
```
[/md]


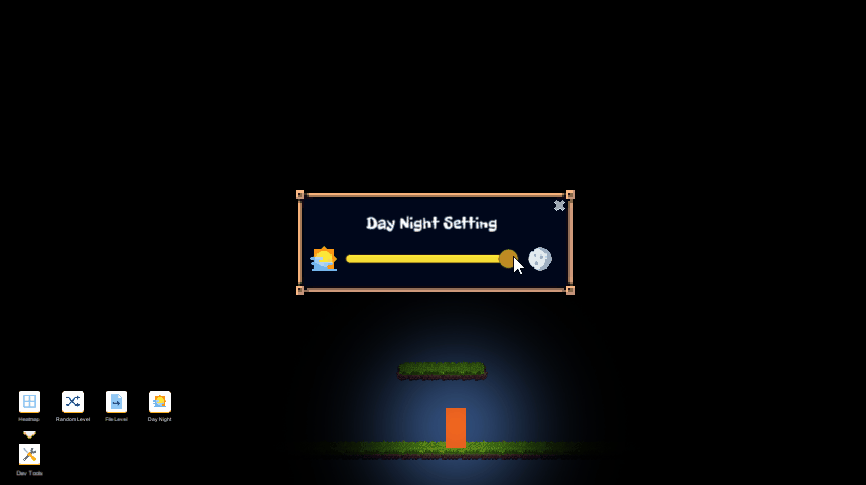
Game Update 3: 2D Lighting using Shaders
Onslaught is a very strategic level based game, where vision and positioning play a key role. As the difficulty increases, I wanted to provide 2D lighting mechanism such that players are limited by vision. And of course, send some meat hungry wolves after them.
Onslaught achieves this by creating an alpha mask that is recorded by another camera. Both Game and Mask cameras write to a RenderTexture instead of presenting to the Screen. Then a Shader combines both and Outputs a Surface Material (Unity Surface Shader is used for lighting, hence the output is a surface material).
This Surface Material is then presented on the MainCamera using Graphics.Blit (Which copies 1 texture to another, but in this case we set the Source Texture to null and Destination Texture to null[for render to Screen]).
Game Camera sees this:
Masking Camera sees this:

How it works in background:
How the effect looks like:

Dev Tool to Support it:

Game Update 2: Creating Levels
Onslaught has both procedural levels as well as fixed predefined levels. I made a tool recently to facilitate creation of new levels.
It also allows adding traps for each level and saves it as a ScriptableObject. Since a Trap and its Switches need to be placed on platforms, the tool seamlessly provides a dropdown (as shown in GIF) for pre-existing platforms to the user, and thereby reducing the need to remember platform identifiers like PlatformID.
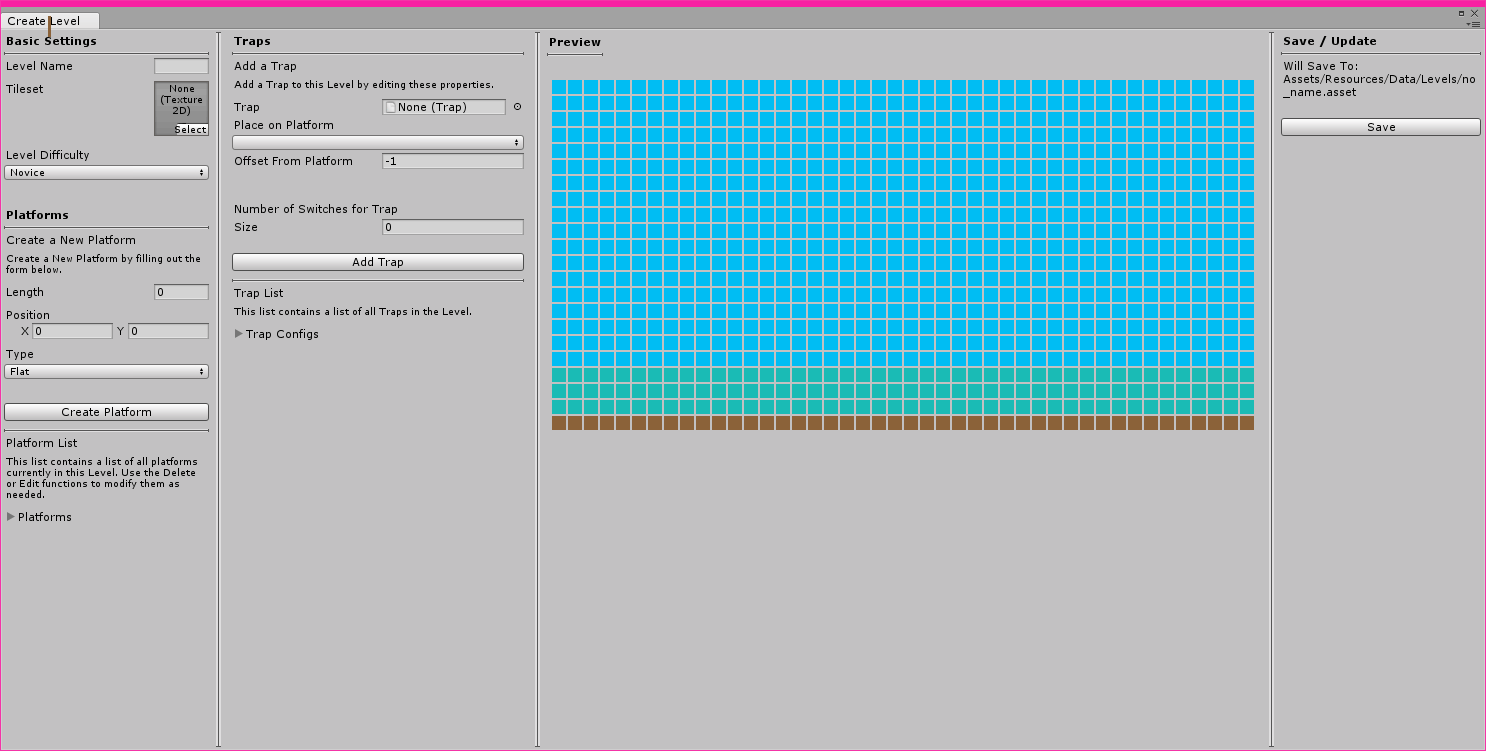
Unity has some really cool stuff like Editor Scripting that allows me to do such things. However, its a pain when you try to create sprite based gui elements like the "Preview" Section of the tool.
Still, missing a few features like X,Y Coordinates in Preview and ability to set LevelAugmentation (a Difficulty curve for that level, more on this later).
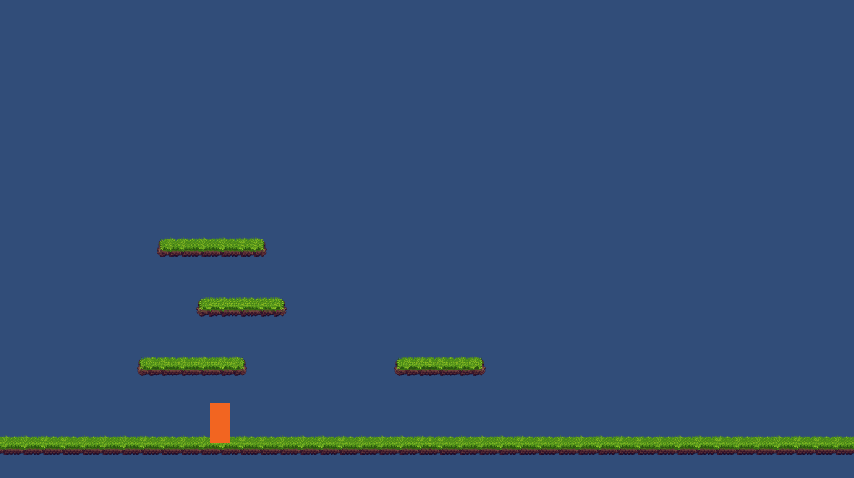
Game Update 1: Procedural 2D Platformer
Been a long time since a blog post! I have been busy managing graphic artists, coordinating plans, and coding.
Onslaught relies on heavy randomization that empowers the game's re-play ability aspect.
Being a 2D platformer, one of the main tasks was too ensure each level you ran has a different feel to it with different environment, different traps, different enemies and a powerful feedback engine that ensures that the next level will be even more hard.
Here are some tools and dev work that has been going on recently:
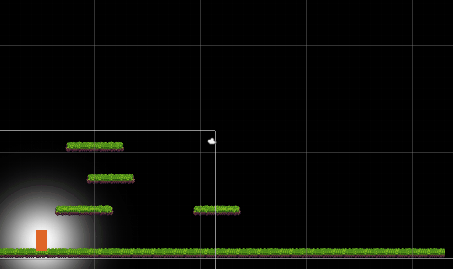
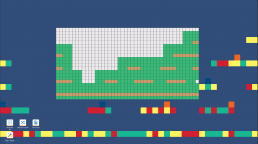
This is a very entry level look on how a procedural level is made. It relies on some key aspects like:
1) Neighboring platforms
2) Preference of Zones (Map is split into invisible zones for plopping new platforms)
3) All Generic - JSON Controlled via a Recipe based system
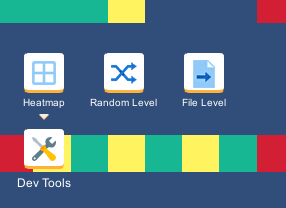
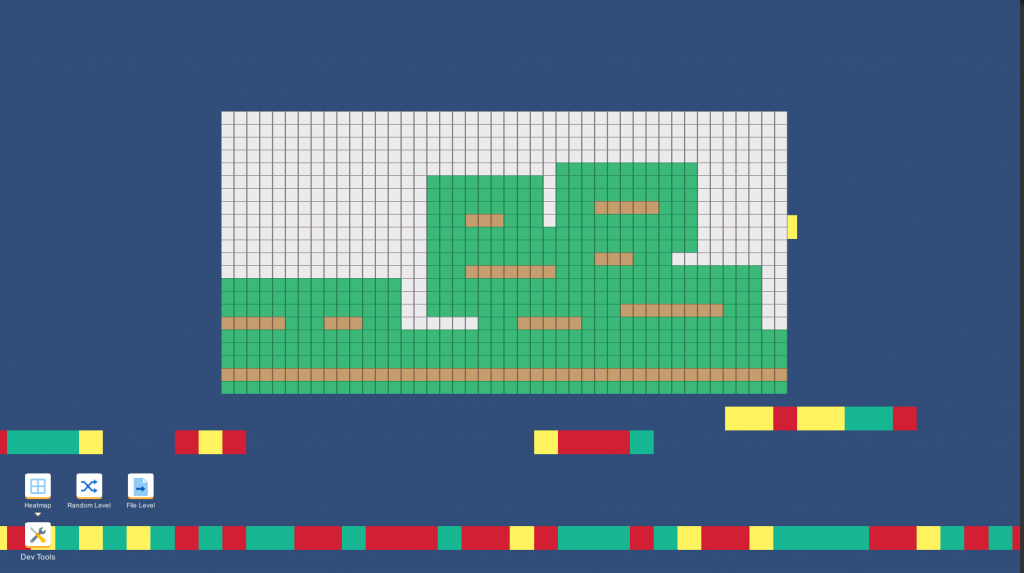
While working on your algorithm, it's important to not be in the dark. So, I built a set of dev tools to help me quickly analyze progress or load levels on the fly. Levels can be loaded from Recipes or Files. File Levels are hard-coded levels and recipe levels on the other hand are purely random. Recipes just guide the algorithm during creation.
Here is how the heat map looks like:
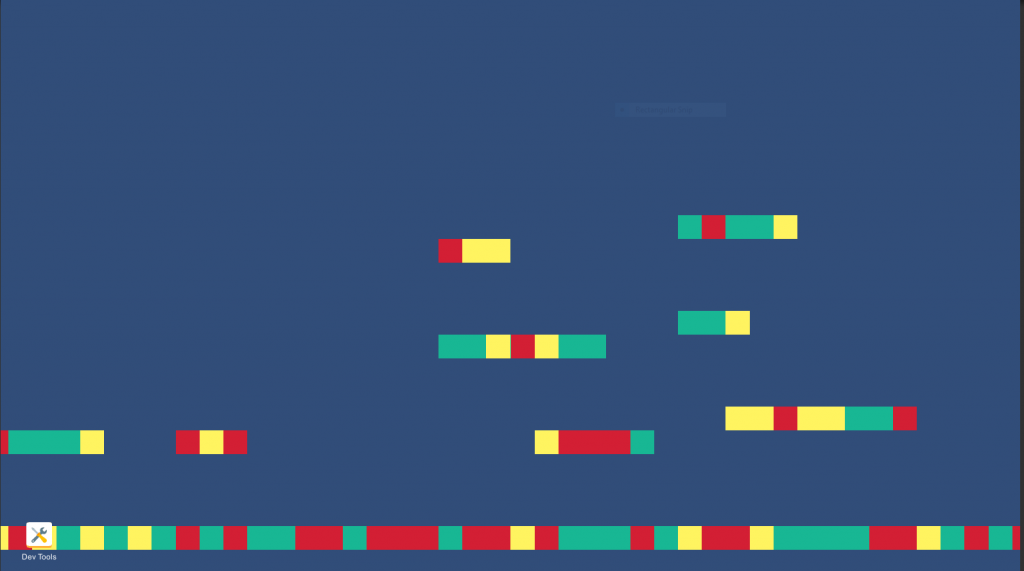
Pretty fun. There were some many challenges encountered like making sure platforms are connected and reachable by all players, Plopping platforms where there is scarcity in zones and many more!
Excited on the progress. Art will come soon(tm).
Here are some other samples:


Onslaught starts ...
Finally, after months of planning, I am starting development for Onslaught with a team. At the same time, I am making a mini-game on weekends through Azura. Both are set to be on Steam for August 2017. Stay tuned!
ScaledC in Azura Engine
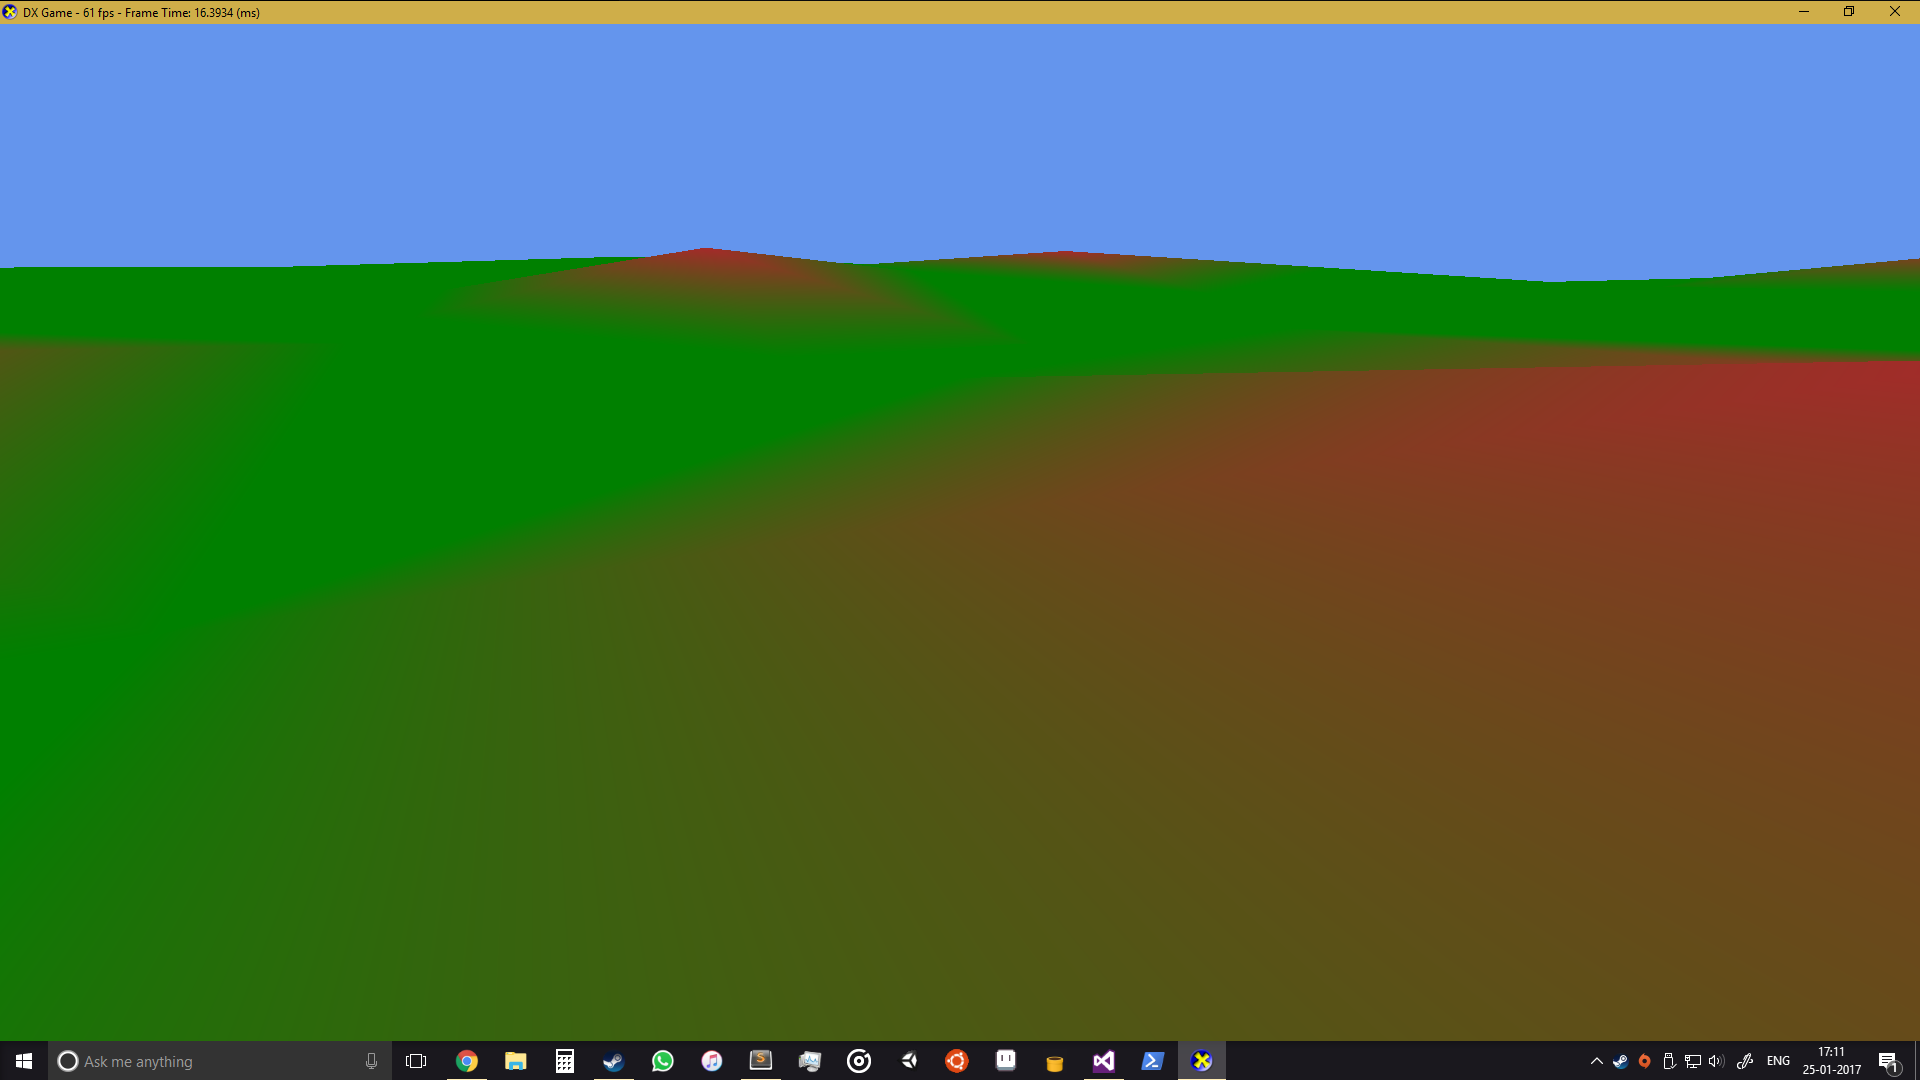
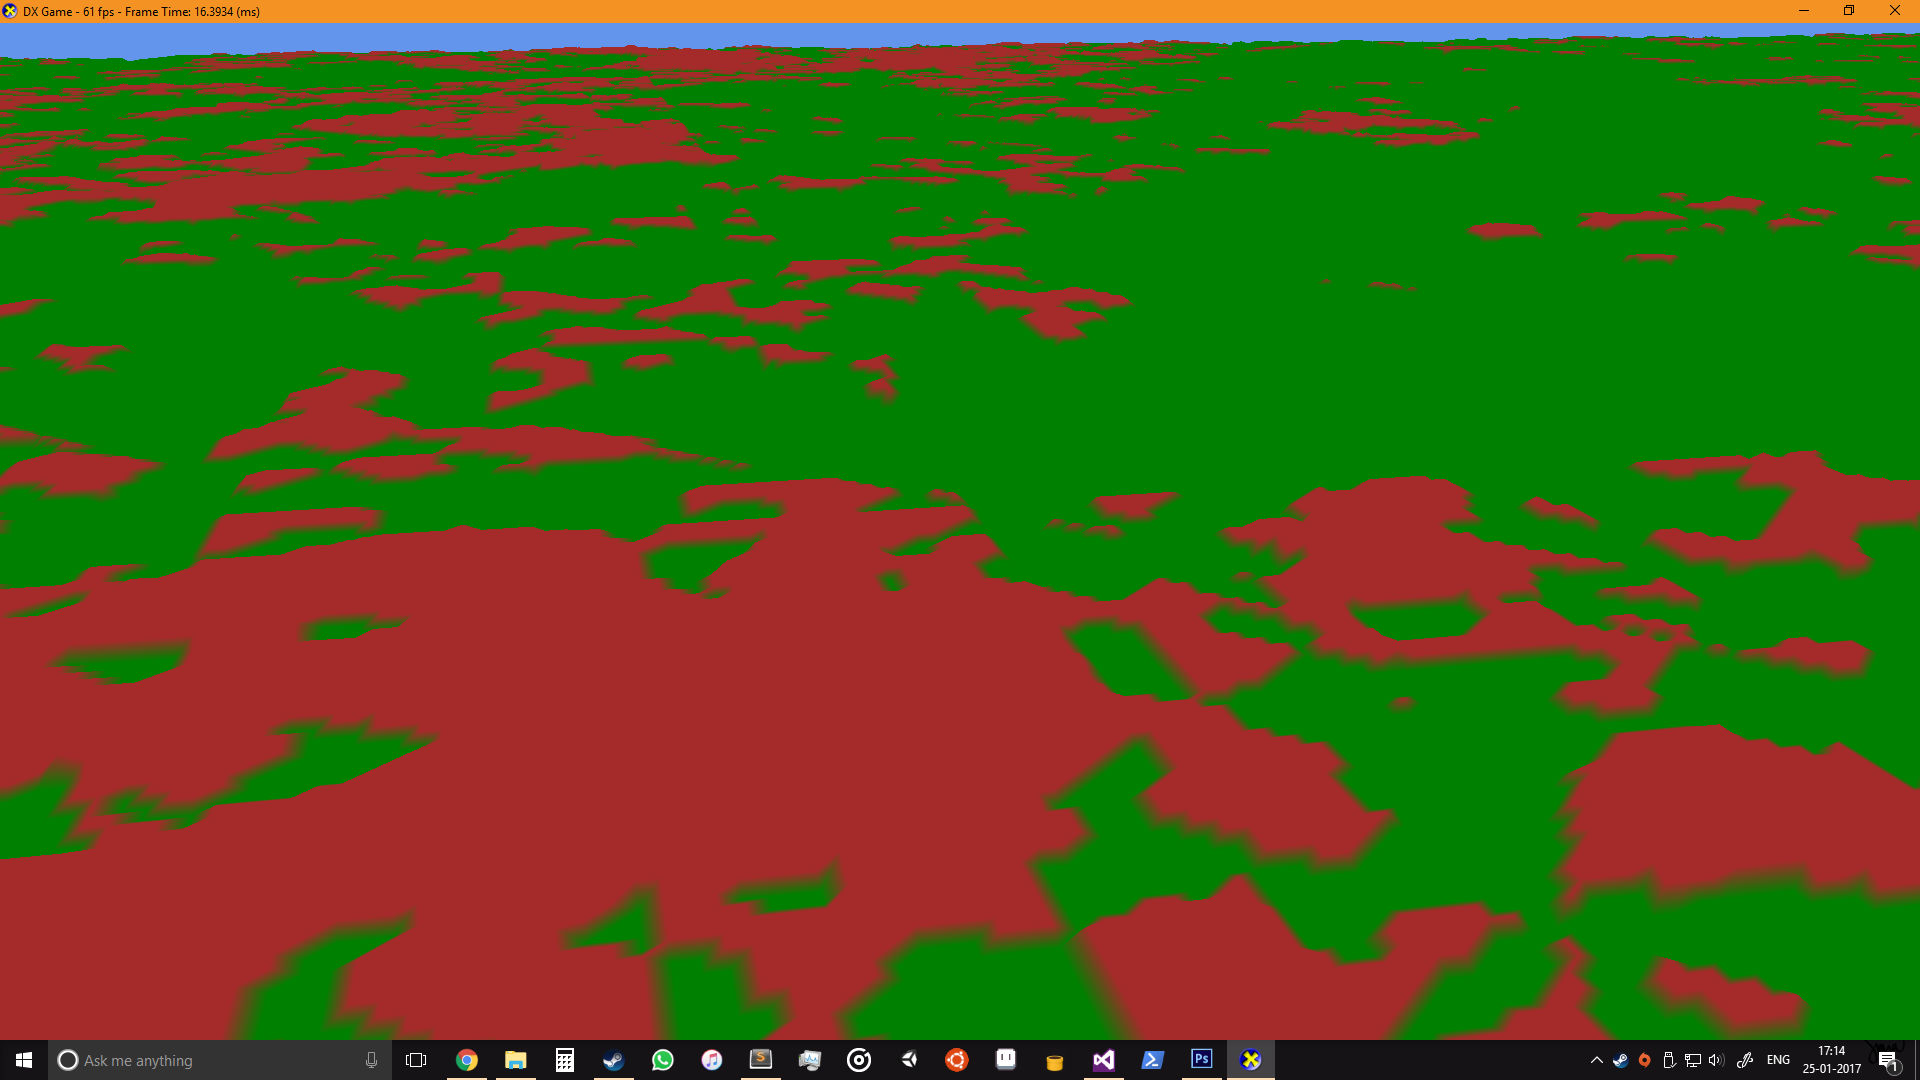
Connected my two libraries together to get some awesome renders for the first time.
Azura - My DirectX Engine
ScaledC - My C++ Terrain Generator
[md]
I created a new `GameObject` called `Terrain` and used ScaledC to generate the terrain values and assigning colors.
```cpp
Mesh mesh = Mesh(renderState);
BasicMesh cubeMesh = ShapesHelper::GetPlane(length, breadth, rowDivisions, colDivisions); // Get Default Plane Mesh from Azura
auto rowVertices = rowDivisions + 1;
auto colVertices = colDivisions + 1;
auto generator = Scaled::Generator(rowVertices, colVertices);
generator.SetNoiseOctaves(8);
generator.SetNoisePersistence(0.7f);
generator.SetAmplitude(512);
auto map = generator.GenerateMap(); // 2D Array
// After this, I modified the Y aspect of each vertex in the mesh.
// The Mesh and Perlin noise had the same amount of vertices, hence just translated them accordingly.
```
### Renders
100x100 Resolution:
1000x1000 Resolution:
[/md]
Movement: Keyboard & GamePads
Adding a generic keyboard to Azura was not that hard. Using proper Win32 documentation. It was easily to register the Events and use them.
Here is the demo showcasing generic keyboard events:
To use a Keyboard Event (Gamepad also, check Scene's Update Code), We use the CoreManager:
[md]
### Register Calls
```cpp
// Register These calls in your game
mCoreManager.OnKeyUp(wParam); // WPARAM wParam
mCoreManager.OnKeyDown(wParam);
// Below is the Win32 Message that you need to listen in WndProc.
case WM_KEYDOWN:
if (game) {
game->OnKeyDown(wParam);
}
break;
case WM_KEYUP:
if (game) {
game->OnKeyUp(wParam);
}
break;
```
[/md]
Azura Engine: Cameras
Introducing Cameras in Azura. Similar to Unity, we can create virtual cameras. They are inherited from the base class GameObject, hence they get the basic features like Transformations and mIsRenderable as false (So that we don't render this virtual object).
The primary camera or MainCamera is Initialized by default in CoreManager. You use it as (There will be a Camera Object later added, the MainCamera is just there to keep it unique from other cameras):
[md]
```cpp
mMainCamera = new MainCamera(renderState);
```
### Moving it!
```cpp
// Change the Position
mMainCamera->SetPosition(4.0f, 0.0f, -10.0f);
mMainCamera->SetPosition(XMVECTOR3);
// Change the Look Target
mMainCamera->LookAt(0.0f, 0.0f, 0.0f);
mMainCamera->LookAt(XMVECTOR3);
```
[/md]
Here is a visual example: